In this article:
- Charge your Fitbit
- Download the Fitbit app
- Connect your Fitbit device to the phone
- Create or log in to Your Fitbit Account
- Set up notifications
- Linking your Fitbit account to Google
- Set up your device
- Pair your device
- Wearing and Using Your Fitbit Watch
- Location Sharing
- Fitbit Premium
- Location Access & Bluetooth Sharing
- Ensure your Fitbit watch is paired with and synchronized to the app
- Recommendations for synching your Fitbit watch
Follow these steps to add a new Fitbit watch to the phone app on both Android and Apple devices:
- Keep your Fitbit watch near your phone to ensure it syncs correctly.
- The examples in this document use illustrations from the Charge 4 watch, but they are applicable to all Fitbit watches, with some cases requiring minor adjustments.
Charge your Fitbit
Charge your Fitbit by connecting your watch to the charger. The device is usually shipped with the battery drained to prevent steps from being recorded during shipping.
Here’s how you can tell if a Fitbit device is charging:
Depending on the model, Fitbits can indicate they are charging in a few different ways:
- Battery icon: Some Fitbits display a battery icon in the top left of the screen to show charging progress. The battery icon will be solid or whole when the Fitbit is fully charged.
- Vibration: Some Fitbits vibrate when they are successfully connected to the charger.
- Lights: Some Fitbits have lights that blink or light up as they charge. For example, the Fitbit Flex 2 has five LEDs that light up when fully charged.
Download the Fitbit app
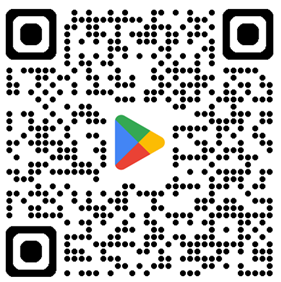
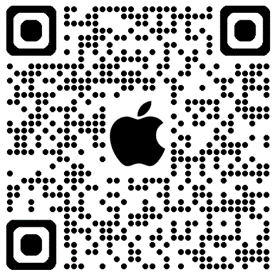
You can scan one of the QR codes below to download the Fitbit app from the App Store (for Apple devices) or the Google Play Store (for Android devices). Alternatively, you can open your phone’s app store and search for the “Fitbit” app. The app icon should look like this: ![]()
For Apple: Go to the Apple App Store, search for the Fitbit app, and download it.
For Android: Go to the Google Play Store, search for the Fitbit app, and download it.
Connect your Fitbit device to the phone
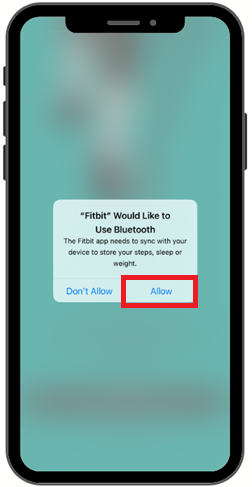
When you are done downloading, open the app. If the app asks you to use Bluetooth, as pictured on the screen below, select ‘Allow.’ Fitbit requires Bluetooth to connect to your phone.
Create or log in to Your Fitbit Account
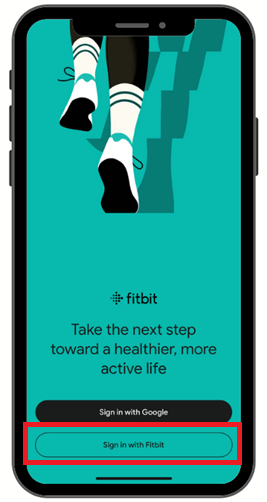
On the next screen, depending on the instructions you have received from the study team, select ‘Sign in with Google’ or ‘Sign in with Fitbit.’
If you’ve been instructed to log in with Fitbit, please use your email (username) and password to access the Fitbit account created for you by the study team.
Username: + Password:
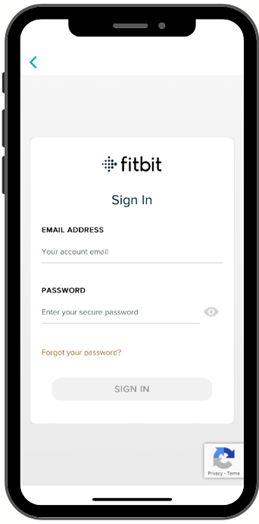
Tip: You can click the eye next to the password field to view the typed password.
Set up notifications
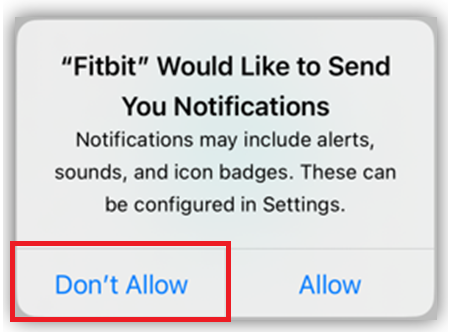
At this point, you may see the notifications set up screen. It is recommended to select ’Don’t Allow’. If you don’t see this screen, that is normal.
Linking your Fitbit account to Google
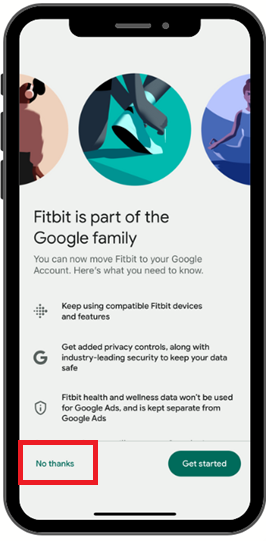
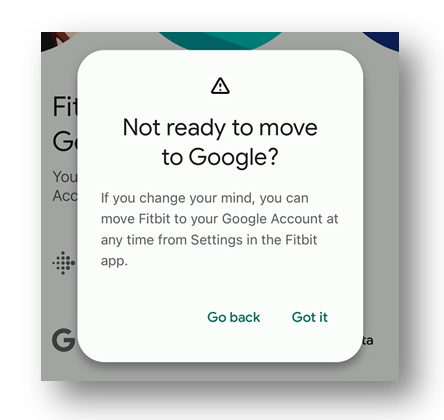
The app might prompt you to connect your Fitbit account to a Google account. If you prefer not to, choose ‘No thanks’ (though some devices require linking). On the next page, click ‘Got it.

Set up your device
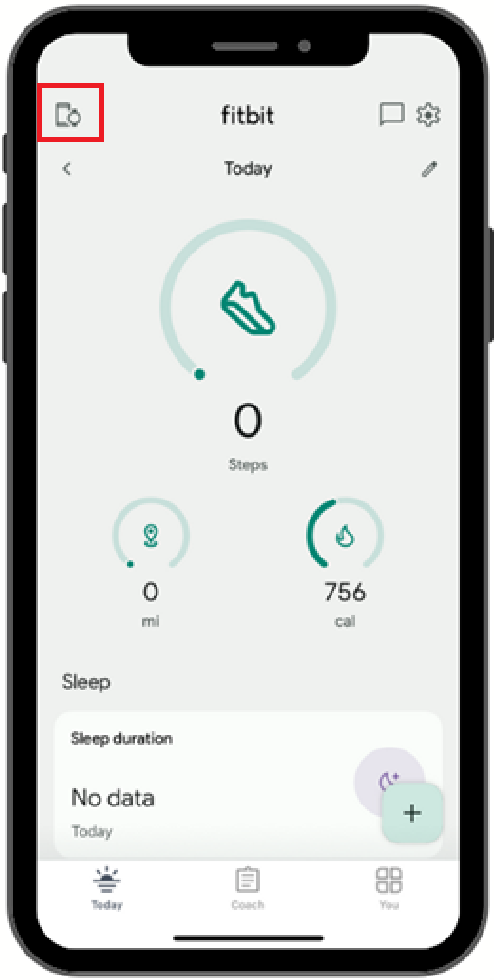
- The home page will load next. Tap the profile (Device+Watch) icon in the top left corner.
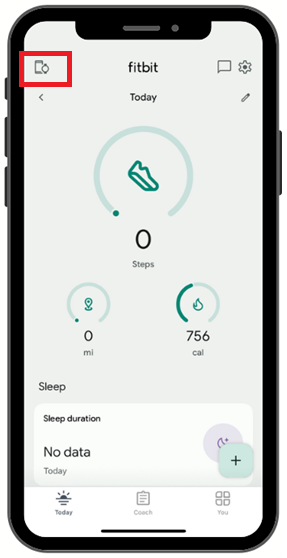
- Depending on your phone app, select the ‘Add device.’ or ‘Add more devices’ option.
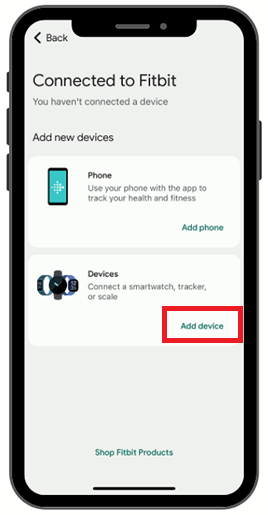
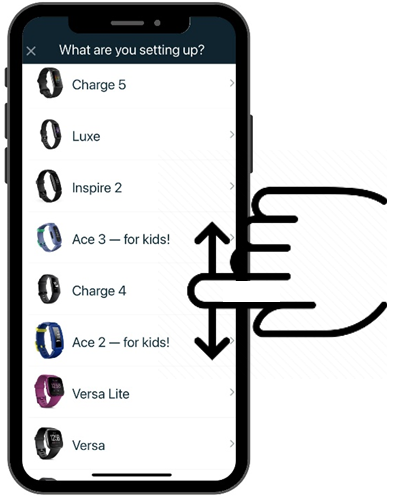
- Select your device from the list of devices. You may need to scroll down to find your device. This is the Fitbit model that you will be using throughout the study.
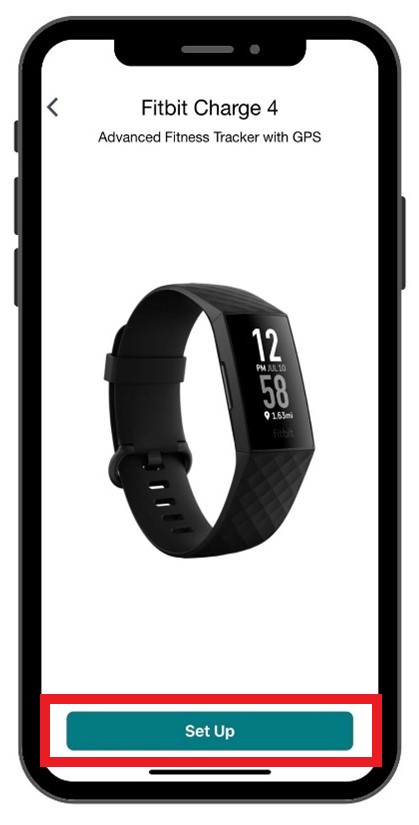
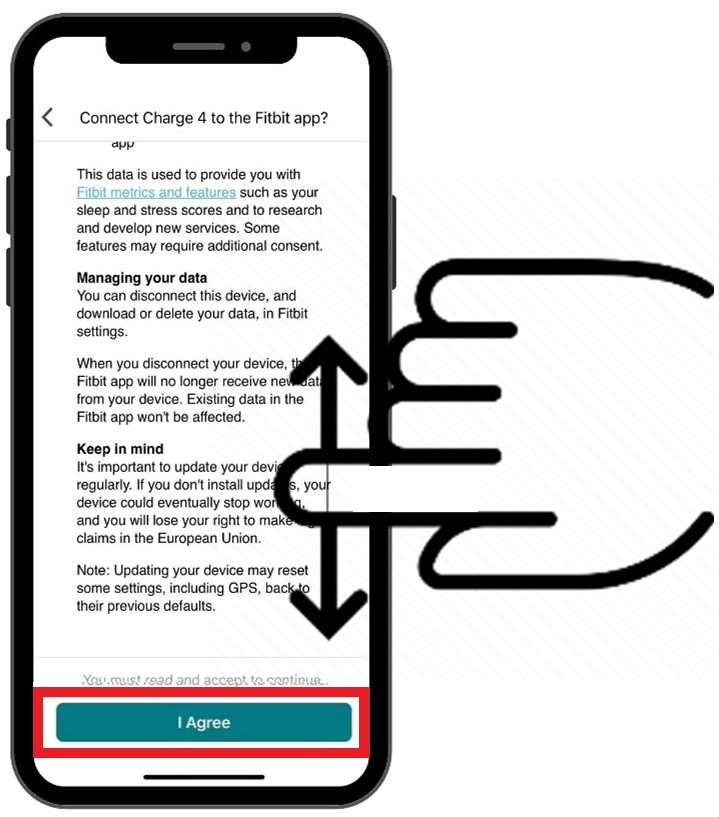
- Select ‘Set Up.’ You will then be asked to read the terms & policies. Once you’ve scrolled to the bottom of the screen, select the ‘I Agree’ button.

Pair your device
You will now pair your Fitbit with your phone. This is done entirely within the Fitbit app. To do this, make sure your Fitbit device and the phone are very close together and that there are no other Fitbit devices nearby.
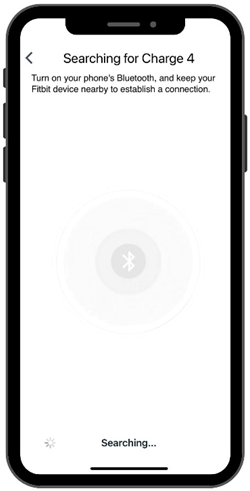

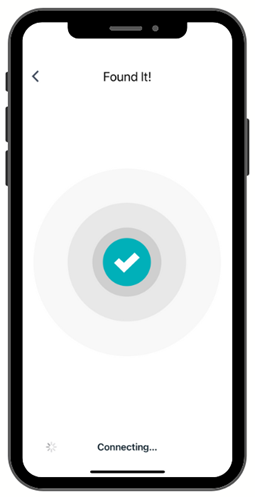

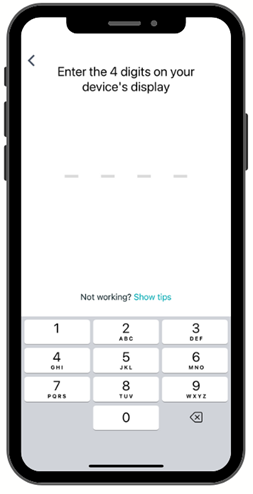
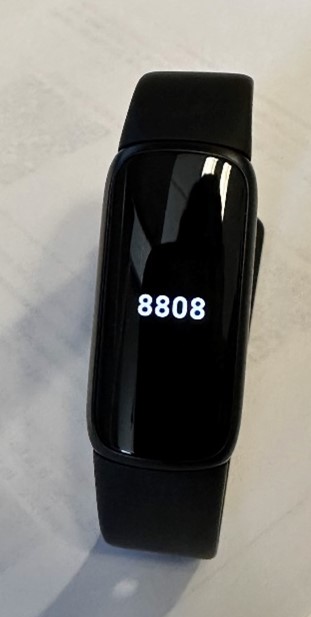
After a few moments, the device will vibrate, and a 4-digit number will appear on the screen (this number is random and may not be the same as the example on the right). Enter the four-digit code shown on the watch screen into the app and wait for it to connect and update.
Tip: Follow the recommendations from the Fitbit app if your device is not syncing.
Note! The pairing process may take a while!
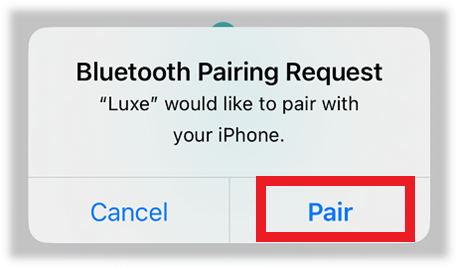
If the pairing process fails for some reason, please continue to try connecting until your phone sends you a Bluetooth Pairing Request. Select ‘Pair.’
Wearing and Using Your Fitbit Watch
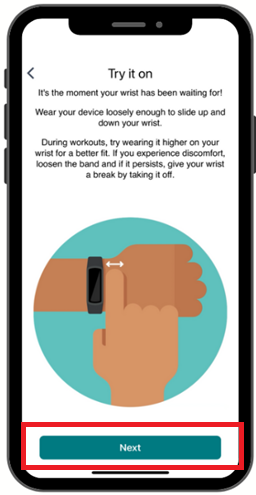
At this point, you are ready to try on your Fitbit! For the best results, place the Fitbit on your non-dominant arm, approximately one finger’s width from where your palm meets your wrist. It should be comfortably snug while loose enough to move up and down your wrist slightly.
When you have the Fitbit on your wrist, select ‘Next.’
Location Sharing
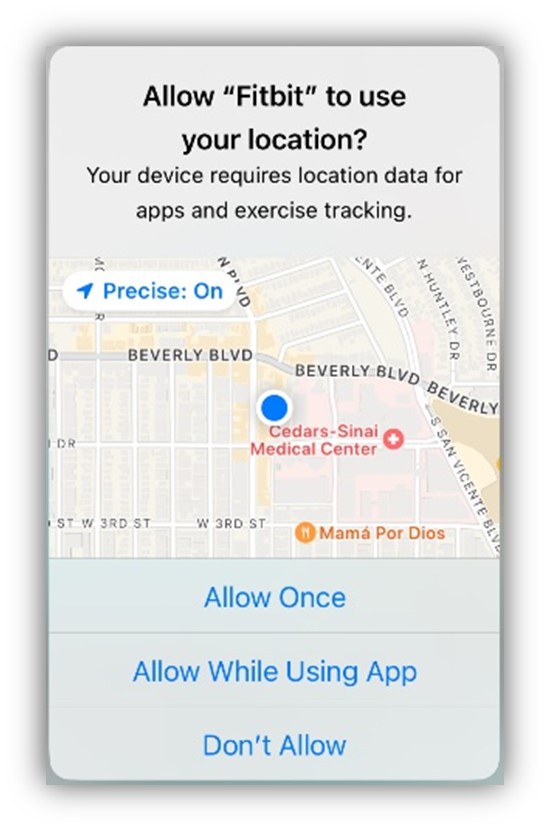
You might encounter a prompt asking to ‘Allow “Fitbit” to use your location.’ This permission may be necessary depending on the study requirements. If uncertain, consult your study team. If location data is not required, you can opt for ‘Don’t Allow.’ However, if it is needed or if you find these features beneficial, you have the option to select ‘Allow Once’ or ‘Allow While Using App.’
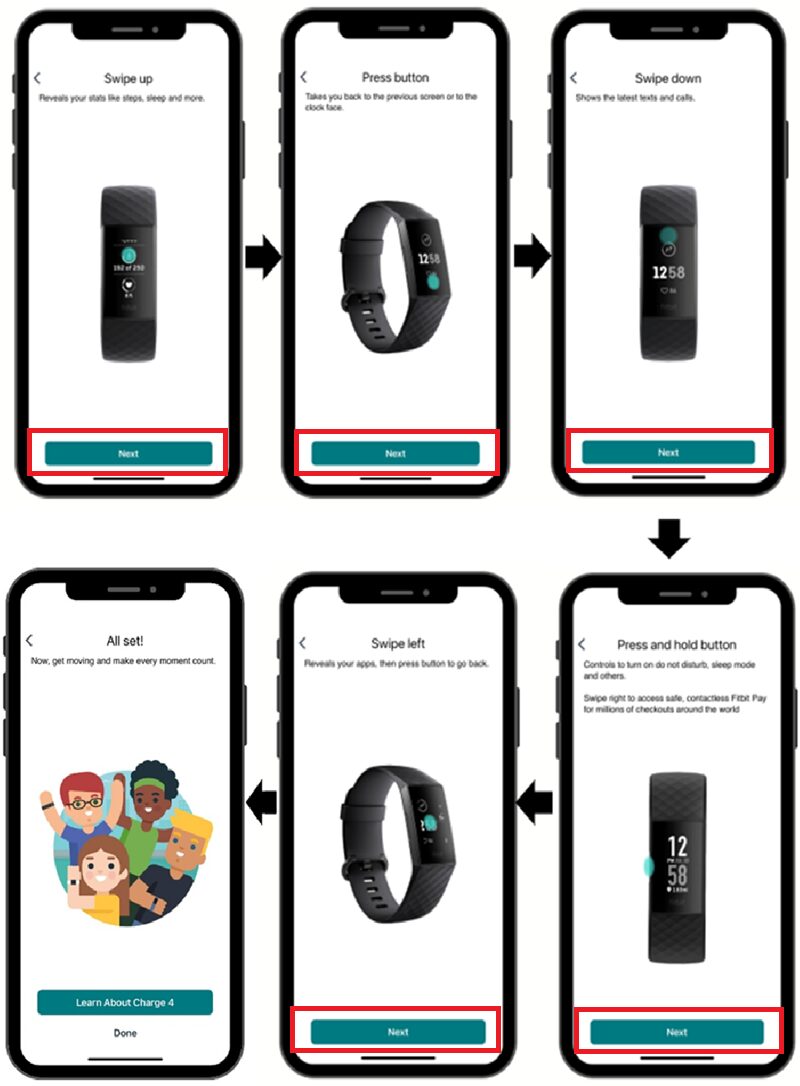
Continue viewing the following screens to learn more about your Fitbit watch. Select ‘Next’ to proceed. Eventually, select ‘Done’ when you are finished.
Fitbit Premium
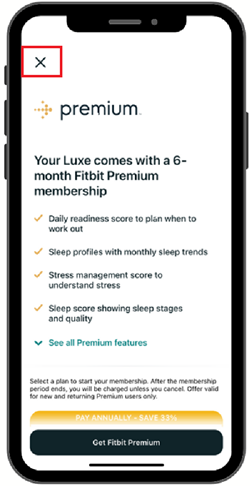
Next, you will see a screen asking if you’d like to activate a Fitbit Premium membership trial. Always know that you are not required to spend any money on activities. The trial will require you to enter credit card information, and you will be charged after the end of the trial period if you do not cancel the membership. To decline, select the ‘X’ button at the top corner of this page.
If you choose to activate Fitbit Premium, the study team will not be responsible for any costs associated with your Fitbit use. It is your decision to purchase any additional services in the app, and it will not affect your participation in the study.
As your Fitbit watch syncs to your phone, you may be asked about ‘Location Access & Bluetooth Sharing’ to start GPS tracking while exercising and getting notifications on your watch. In most cases, this is not necessary and you may dismiss both settings as follows:
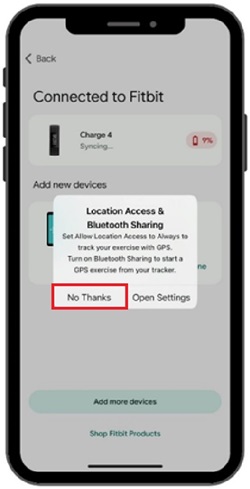
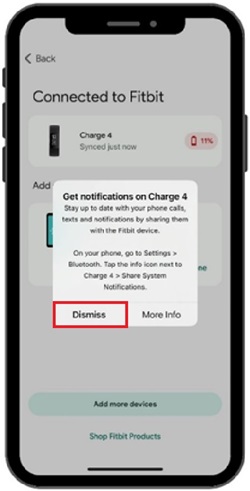
Location Access & Bluetooth Sharing
Your Fitbit should now be paired with your phone. Keep your Fitbit close to your phone and wait a few seconds for the synchronization process. If you encounter any problems, refer to the following section or contact the study team.he study team.
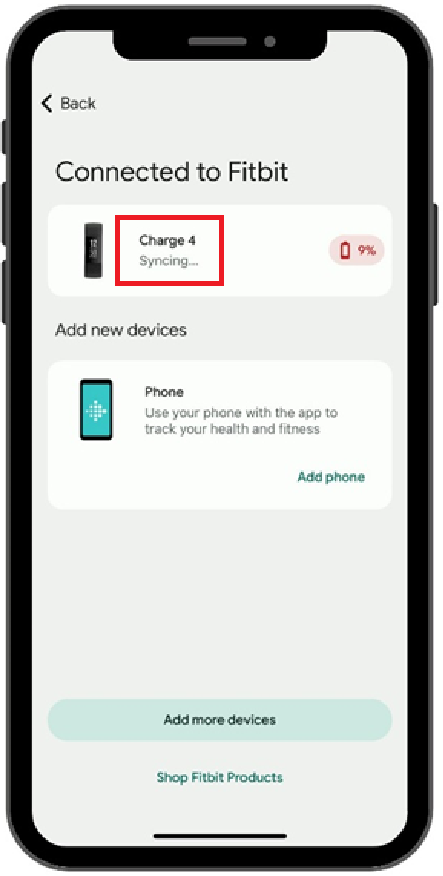

Ensure your Fitbit watch is paired with and synchronized to the app
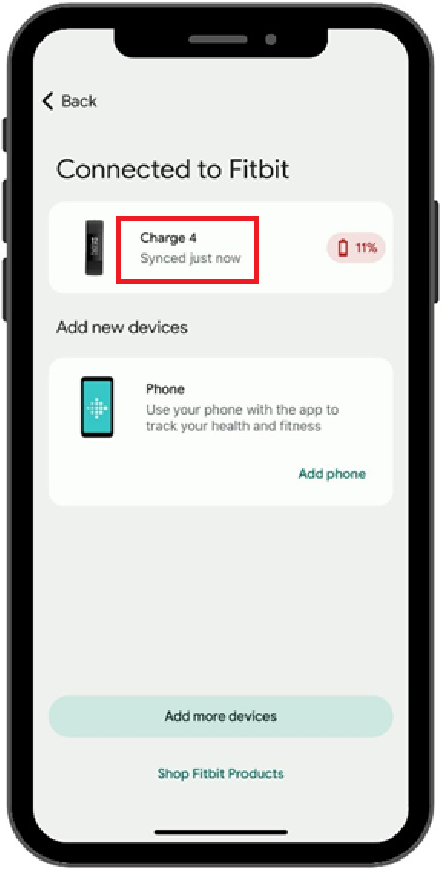
Once you’re back on the Fitbit home screen, confirm your Fitbit watch is appropriately set up. Select the Device+Watch icon on the top left corner to see your connected devices. You should see the watch model (such as Charge 4) under ‘Connected to Fitbit’ if the device is connected correctly.

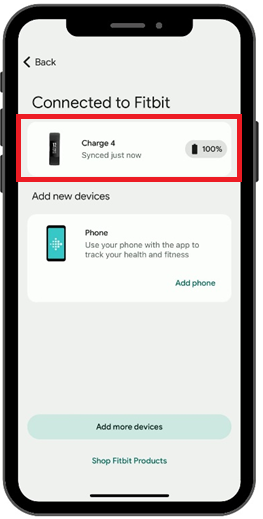
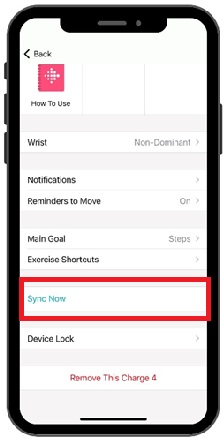
When you’re on the page, tap the Fitbit watch icon (such as Charge 4) and press ‘Sync Now’ at the bottom to sync your data with our database.
Recommendations for synching your Fitbit watch
Due to limited onboard memory, Fitbit devices only store high-resolution (minute or second) data for 5-7 days, depending on the device model. If a device has not synced with a phone for more than five days, it will start removing the oldest high-resolution data and storing only daily aggregate values.
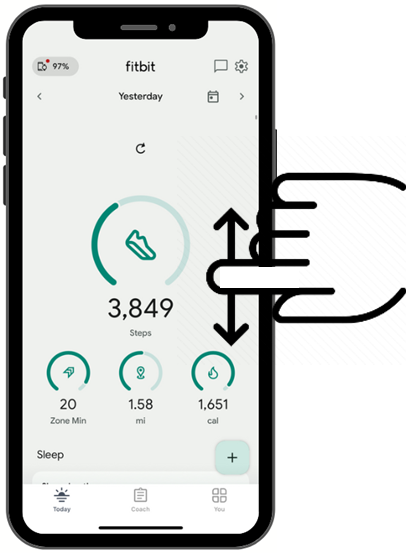
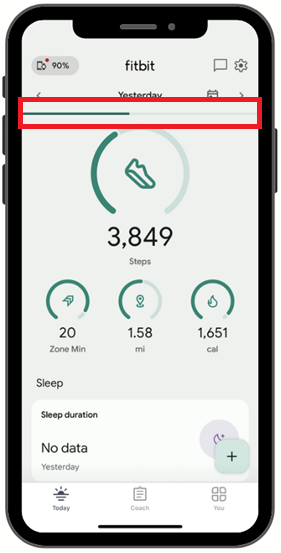
It’s important that you regularly synchronize your Fitbit data with your phone (which will keep the data stored in the cloud) to ensure your data are saved before being overwritten. Earlier in this document, we described one method of syncing your Fitbit watch automatically, but here’s another way that you can do it manually right from the home screen.
On the home screen, drag your finger down and release it once the small circular ‘refresh’ arrow appears. You’ll notice that the screen snaps back into place, and a horizontal loading bar begins to fill along the top edge. Once the bar fills and disappears, you’ve successfully synchronized the device!
